Epoxy is a reliable industrial flooring resin, so when a floor peels, bubbles or delaminates it is worth reading the failure like a diagnosis rather than reaching straight for a tin of the same product. Each failure mode has a signature, and the right repair depends entirely on getting the cause right. Coat over the wrong diagnosis and you will be back on your knees in a few months.
Read the failure first
Blisters and bubbles that lift the coating
Large domed blisters — especially ones that reappear after you cut them — almost always mean moisture vapour pushing up through the slab. On ground-bearing concrete without an effective damp-proof membrane, this is common in Singapore. Trapped air from concrete outgassing during a rising-temperature application produces smaller, more uniform bubbles.
Tiny surface pinholes are a different, cosmetic issue (usually application-related on porous substrates) and do not threaten the bond. It is the coating-lifting blisters that signal a substrate problem.
Flakes that peel clean off the concrete
If the coating lifts away and the underside shows a dusty concrete face — or the concrete face itself crumbles — the bond never formed properly. The usual culprits are laitance (the weak cement-rich layer on a finished slab) or contamination (oil, grease, curing compound) left on the surface. This is a preparation failure, and it is the most expensive one because it means the surface was never coatable in the first place.
Peeling between coats
If one coat peels off another coat cleanly, the layers never fused — the recoat window was missed. Recoat too late without abrading, and the next coat has no key. This one is workmanship, and it is usually localised to a work break or a delayed day’s work.
Cracking that telegraphs from below
Cracks that mirror the substrate mean the coating is faithfully following a moving crack underneath. The coating did not fail; the substrate is moving and needs addressing before any resurfacing.
Diagnose with simple checks
Before spending on repair, spend ten minutes confirming the cause:
- Tap test. Tap suspect areas — a hollow sound reveals debonded zones the eye misses. Map how widespread it is.
- Adhesion check. A cross-hatch or small pull-off test on representative spots shows whether the surrounding “good” coating is actually bonded or just not lifted yet.
- Moisture reading. If blisters are the symptom, measure slab moisture / relative humidity. This decides whether a normal recoat is even viable.
- Look at the underside. Peel a failed flake and read its back: clean concrete dust means contamination/laitance; damp or salty means moisture; another coating means an interlayer failure.
These four checks separate a cheap localised repair from a floor that needs lifting and re-doing — a distinction worth knowing before you commit budget.
Repair each mode properly
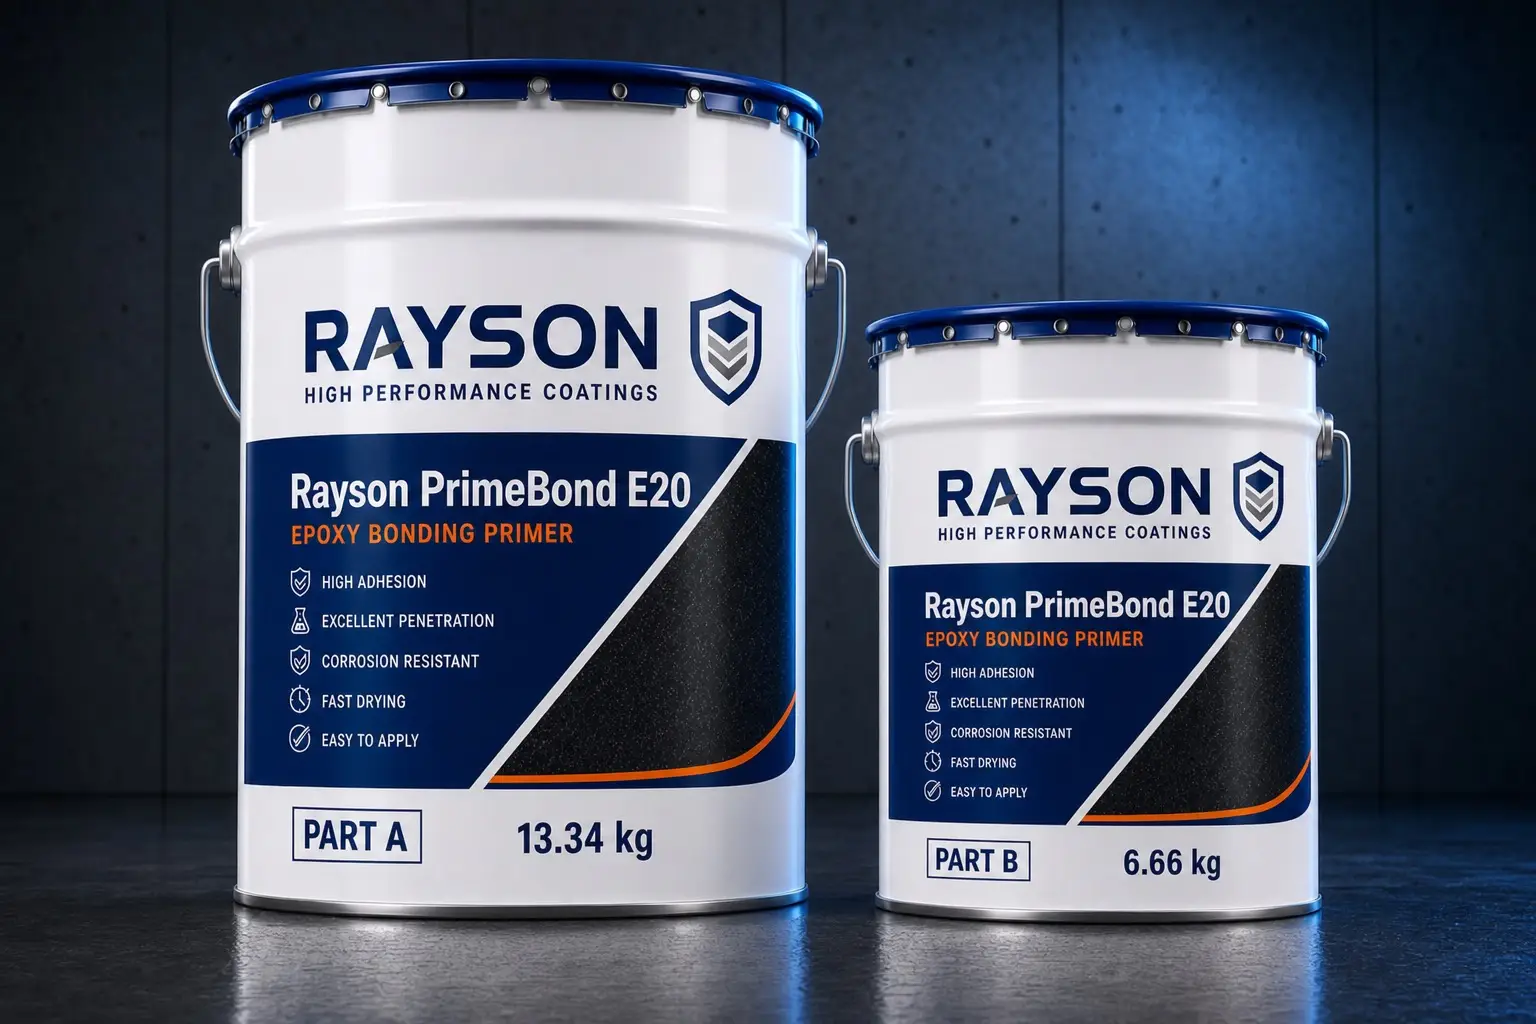
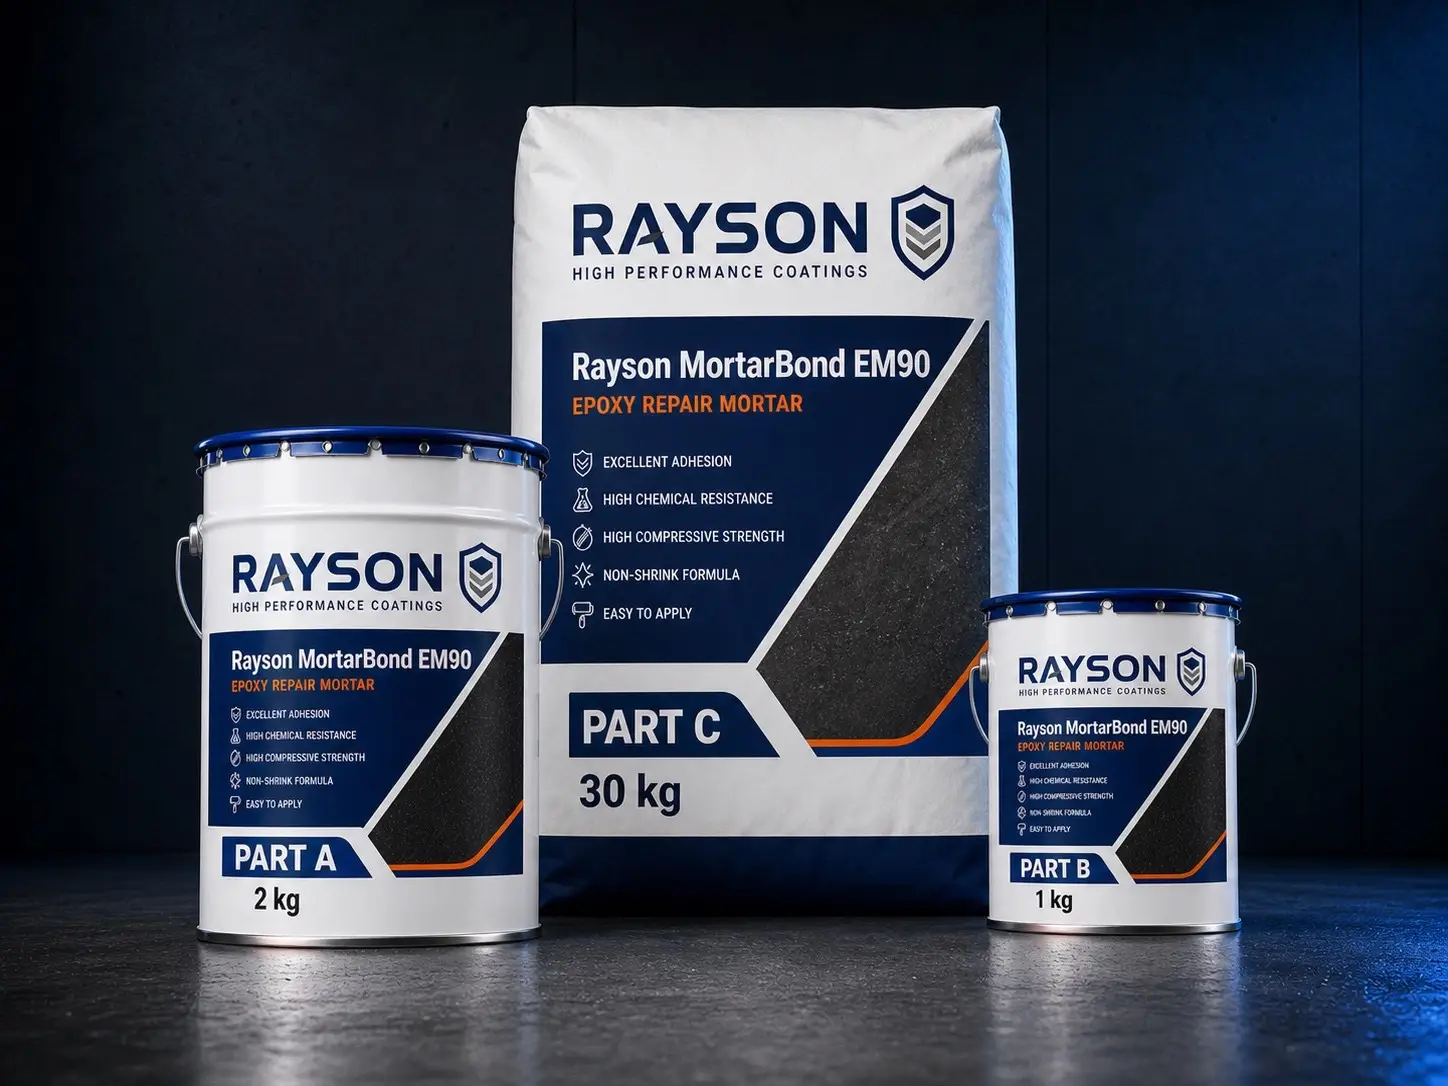
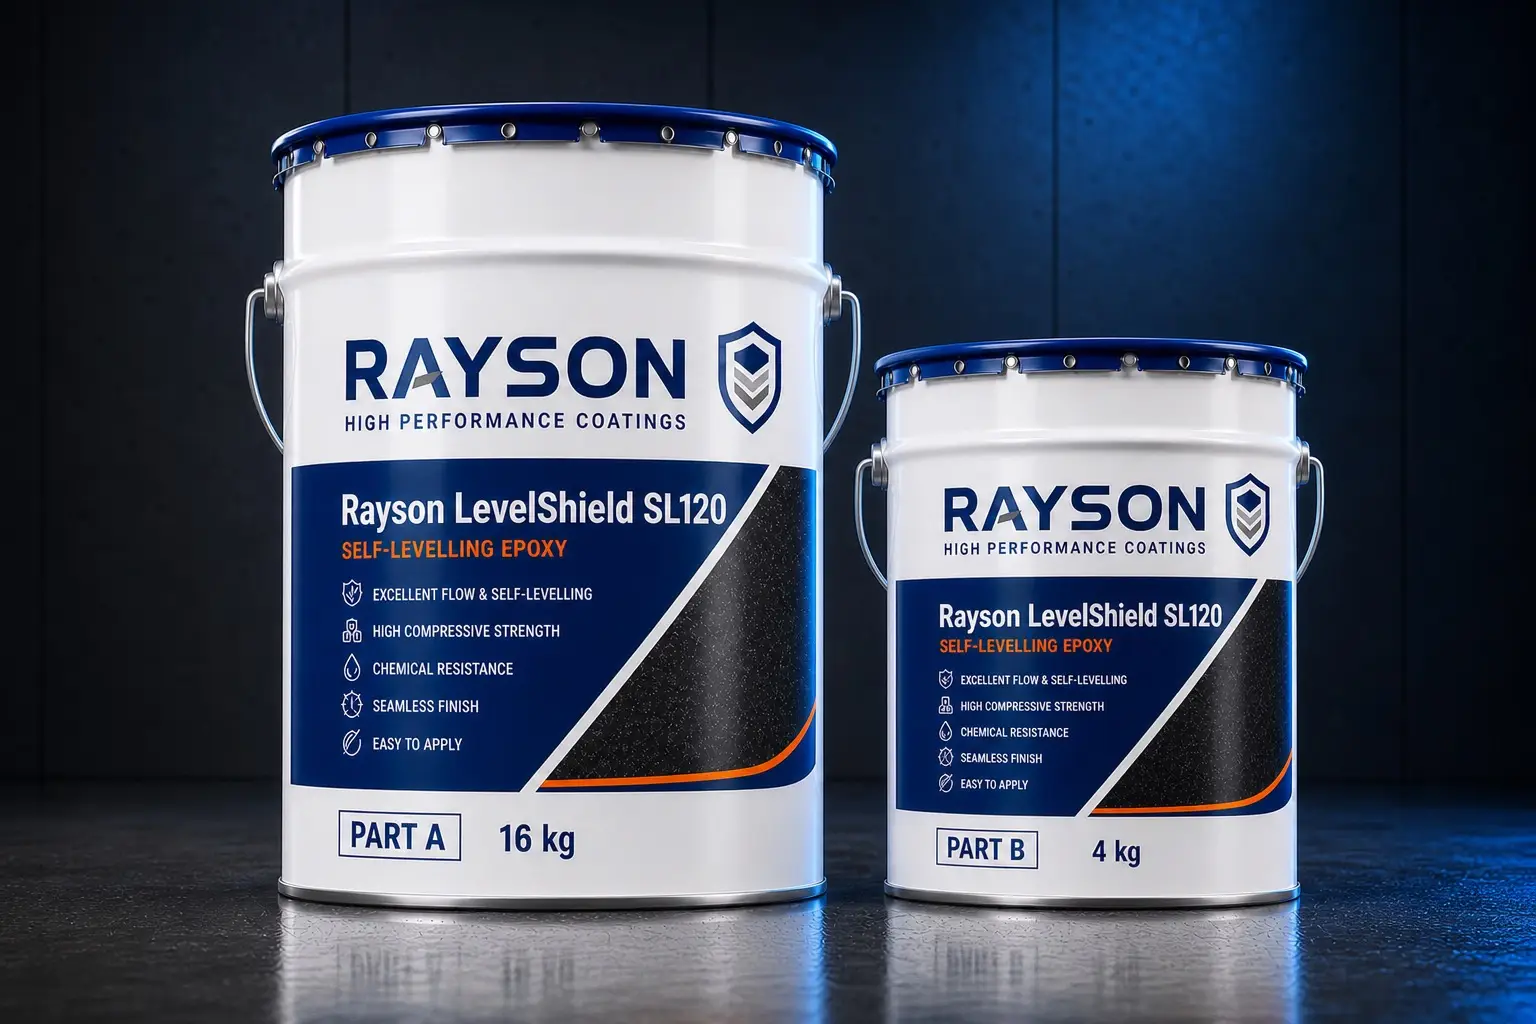
Contamination / laitance (bond failure). There is no shortcut: remove the failed coating back to sound material, mechanically prepare to remove the weak layer and open the surface, vacuum, then rebuild. Prime with PrimeBond E20, reinstate profile with MortarBond EM90 epoxy mortar where depth was lost, and recoat with the specified system such as LevelShield SL120. See the surface preparation guide for the standard to hit.
Moisture blistering. This is a substrate problem, not a coating problem. Options run from improving drainage and ventilation to a moisture-tolerant priming approach or a moisture-mitigation system, depending on the readings and whether there is a membrane. PrimeBond E20 accepts damp (not wet) substrates, which resolves marginal cases; severe rising moisture needs a considered specification. Recoating without addressing the water simply re-blisters.
Interlayer peeling. Remove the loose coat, abrade the sound coat below to a key, clean, and recoat within the correct window. The epoxy application guide covers recoat timing.
Cracks from the substrate. Treat the crack — rout, fill and, where it is moving, use a flexible detail — before resurfacing. Resurfacing over a live crack just reproduces it.
The honest bottom line
The temptation with a failing floor is to scuff-sand and roll on a fresh coat because it is quick and cheap. If the failure is interlayer or localised impact, that can be right. If it is moisture or contamination, it is money thrown away — the new coating inherits the old failure. A short diagnostic pass pays for itself many times over.
If you are looking at a failing floor and are not sure which mode you have, send photos of the lifted areas and the underside of a flake to our technical team via WhatsApp. We will help you read it — and tell you honestly if the answer is “lift and re-do” rather than sell you a coat over a problem.